Sharpening a brush cutter blade seems like it shouldn’t be much different than sharpening any other blade used for cutting. In fact, that is why most people do it incorrectly. Sure, the edge looks similar, but how the blade is designed to cut, absorb impact, and remain balanced changes the technique needed to sharpen it.
Ignore these factors and your blade will dull quickly even if it feels sharp as a razor. In this article, we will explore the distinct features of brush cutter blades and the proper sharpening techniques to preserve your blade.
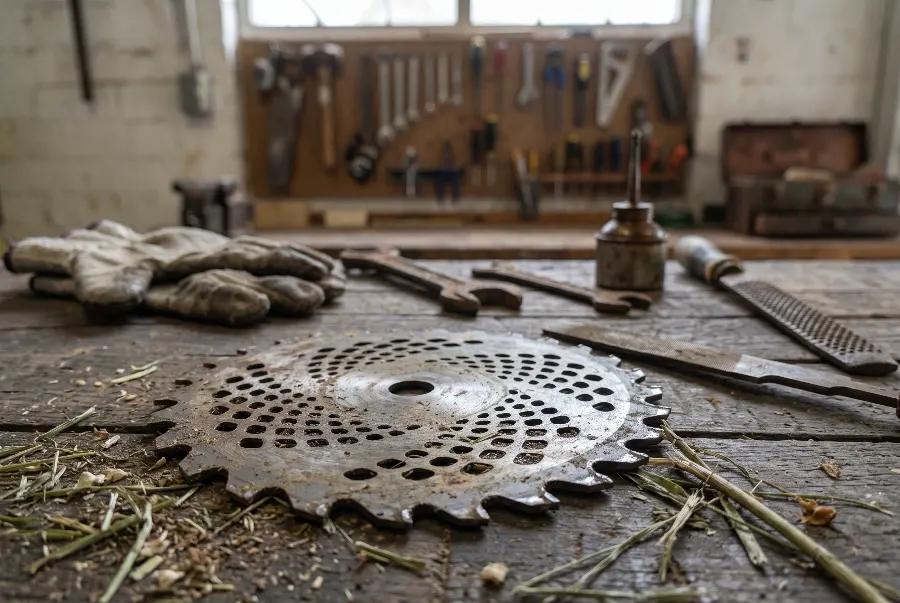
Table of Contents
- How Do You Know If Your Brush Cutter Blade Needs Sharpening?
- How Do You Prepare a Brush Cutter Blade for Sharpening?
- How to Properly Sharpen a Brush Cutter Blade
- Common Sharpening Mistakes to Avoid
- Conclusion
- FAQs About Sharpening Brush Cutter Blades
How Do You Know If Your Brush Cutter Blade Needs Sharpening?
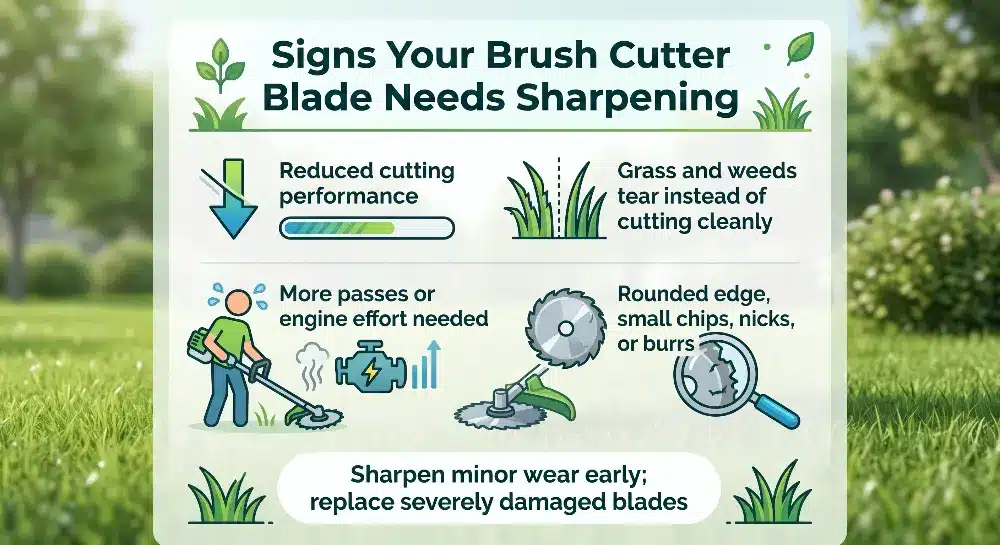
A brush cutter blade needs sharpening when it no longer cuts vegetation cleanly and efficiently with the same cutting motion. If you have to change your technique or make extra passes to get the same result, the cutting edge is likely too dull.
Thick grass doesn’t fall away as you cut. Weeds rip instead of slicing through easily. You may even find yourself having to go over an area two or three times. Not only does this reduce cutting performance, but the engine must work harder. A dull blade resists the material you’re cutting instead of slicing through.
After realizing your blade is dull, go ahead and take a closer look. If the edge is rounded, it’s clearly due for some sharpening. Tiny chips, small nicks, and rolled burrs don’t mean it’s time to toss the blade. But they will cause a loss in performance until you sharpen the edge.
It’s a good idea to sharpen blades before they get too dull. You remove less metal by sharpening an edge that’s only slightly dull. That helps the blade last significantly longer. Before you begin sharpening, examine the blade for damage. It’s safe to sharpen minor wear and tiny nicks. Buy new blades if they’re cracked, bent, missing large chunks of metal, have oversized mounting holes, or are overly worn. Sharpening will help the edge, but not the integrity of the blade.
How Do You Prepare a Brush Cutter Blade for Sharpening?
Preparing a brush cutter blade for sharpening is mainly about having the right basic tools, securing the blade, and making sure the blade is clean and free of serious damage. You don’t need fancy machinery for most sharpening jobs, and a hand file is often the safer option because it removes metal slowly and gives you greater control over the cutting edge.
For most sharpening jobs, you’ll need:
- A flat mill file
- A bench vise
- Gloves and safety glasses
- A wire brush
- A clean rag
Options like a bench grinder, sharpening stone, or blade balancing tool will help, but are not necessary. Actually, using a hand file is usually the safer option. Files cut away metal slowly and allow for greater control when forming the cutting edge.
Remove the battery pack or spark plug wire before you start. Remove the blade and clamp it securely in a bench vise. It’s much easier to sharpen a blade that isn’t trying to spin away. It’s also significantly safer. Inspect the blade for cracks, warping, or major damage before proceeding.
Clean the blade thoroughly. Eliminate grass sap, dirt, rust, resin buildup, and compressed debris. Sap, dirt, and grime can hide damage that you don’t want to miss. It also prevents the file from “skipping” across the surface of the blade.
How to Properly Sharpen a Brush Cutter Blade
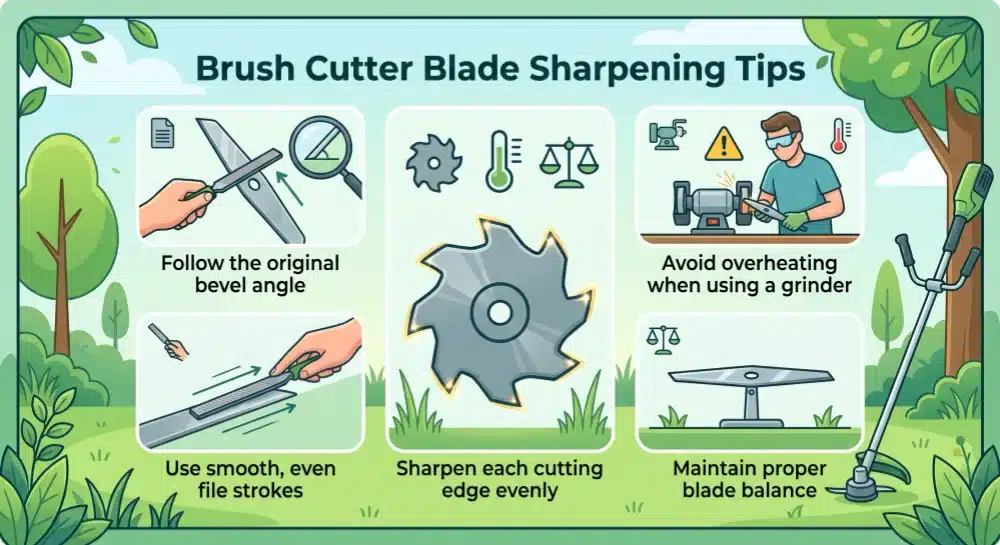
To sharpen a brush cutter blade properly, work with the blade’s existing bevel, use controlled strokes, avoid excessive heat, and keep every cutting edge consistent. The goal is to restore the worn edge without changing the blade’s original shape or balance.
1. Match the Original Edge Angle
Don’t alter the cutting angle. Instead, follow the existing bevel. All brush cutter blades come from the factory with an edge angle designed to optimize strength and cutting ability. Altering that angle will only take off more metal than you have to and gradually change the way your blade cuts. When sharpening, your goal is to recreate that original edge, not reshape it. Only file until the old, worn edge is gone and you can see new metal again. You don’t want your brush cutter blade to have a razor edge. You want it to have the right edge.
2. Use Smooth, Even File Strokes
Use steady pressure in one direction as you push the file across the blade. Lift it off on the return stroke instead of dragging it backward. Make your strokes smooth and even along the cutting edge. When people get in a hurry, they tend to take off more metal from some spots than others. Slow, controlled strokes will produce a cleaner edge and help ensure that you don’t alter the factory bevel.
3. If You’re Using a Grinder, Be Careful
Using a bench grinder will remove material much faster than a hand file. This is helpful if your blade is very dull or has large nicks you need to grind out. Just be aware that grinding can cause a lot of heat. Too much heat will ruin the edge by softening the steel and drastically reducing the blade’s lifespan. Don’t press too hard; make light, frequent passes, and stop frequently to allow the blade to cool.
4. Sharpen Every Cutting Edge Evenly
Keep track of your filing passes to ensure each edge gets the same attention. Taking more metal off one edge than another will cause your blade to become out of balance. An out-of-balance blade will vibrate when it spins, not cut as smoothly, and put unnecessary stress on your brush cutter. Keeping your edges even will help your blade balance properly.
Common Sharpening Mistakes to Avoid
The most common sharpening mistakes are easy to avoid: don’t sharpen damaged blades, remove too much metal, change the factory bevel, overheat the edge, or ignore blade balance.
- Sharpening a cracked blade: Never sharpen a cracked blade. The cracks will remain even if the edge looks perfect afterward.
- Removing too much metal: Taking off too much weakens the blade and leaves less material for future sharpening. Waiting too long between sharpenings can also mean removing more metal than necessary.
- Changing the factory bevel: Follow the original bevel instead of trying to create a sharper edge. Changing the angle can reduce cutting performance.
- Overheating the edge: Too much heat from a grinder can damage the edge and reduce its ability to hold an edge. Use light, frequent passes and let the blade cool.
- Ignoring balance or installation: An unbalanced blade can cause vibration and put stress on the brush cutter. Always make sure the blade is tightened properly before use.
Conclusion
A brush cutter blade is not designed to be sharpened like a circular saw blade. Nor would you want to cut grass with a wood-cutting blade. A tool needs to fit the task, and the same goes for sharpening. Retain the original bevel angle, remove only what needs to be removed, and sharpen while the edge is still decent. Follow these tips and your brush cutter will cut cleaner and run smoother, plus your blade will last a lot longer.
FAQs About Sharpening Brush Cutter Blades
Yes. A flat mill file provides good control, removes metal gradually, and helps you maintain the original bevel.
There’s no fixed schedule. Sharpen the blade when cutting starts to slow down, vegetation begins tearing instead of slicing, or the engine starts to struggle.
No. A grinder can restore a badly worn blade faster, but a hand file provides greater control and makes it easier to avoid overheating the edge.
It’s best to remove the blade before sharpening. Removing the blade allows you to secure it firmly in a vise and gives you better control while sharpening.