Circular saw blades don’t need to be dull before they start cutting poorly. More often than not, slow cuts, rough edges, or burn marks are caused by built-up resin, pitch, and sawdust rather than a loss of sharpness. Before cleaning your blade, it is important to determine whether the problem is buildup or actual blade wear.
That is why many homeowners replace or sharpen their blades too soon, when all they need is a simple cleaning. In this guide, you’ll learn how to safely clean a circular saw blade, what supplies to use, and what mistakes to avoid.
Table of Contents
- What Do You Need to Clean a Circular Saw Blade?
- How Do You Clean a Circular Saw Blade?
- Why Does Cleaning a Circular Saw Blade Matter?
- What Mistakes Should You Avoid When Cleaning a Circular Saw Blade?
- Conclusion
- FAQs About Cleaning Circular Saw Blades
What Do You Need to Clean a Circular Saw Blade?
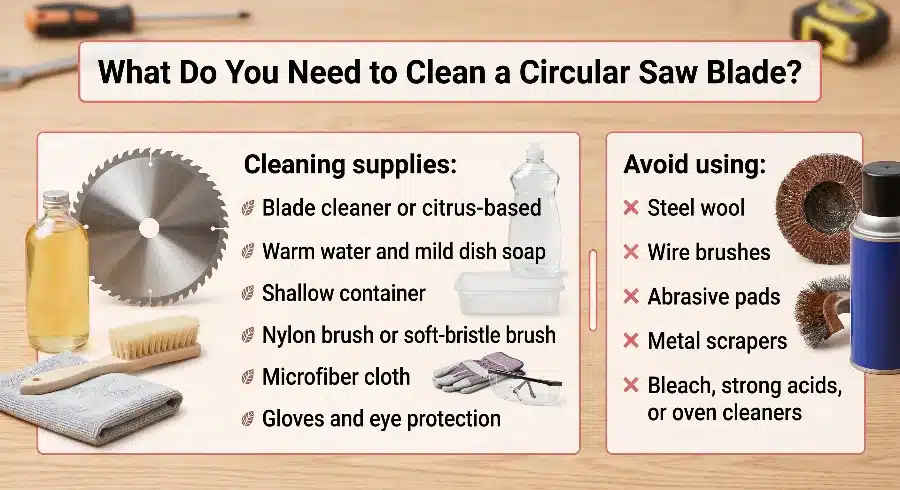
You don’t need specialized products to clean a circular saw blade safely. Most cleaning jobs only require a few basic supplies:
Cleaning supplies:
- Blade cleaner or citrus-based cleaner
- Warm water and mild dish soap
- Shallow container
- Nylon brush or soft-bristle brush
- Microfiber cloth
- Gloves and eye protection
Soft brushes are preferred because they help remove resin and glue without scratching the blade body or putting unnecessary stress on the carbide teeth.
Avoid using:
- Steel wool
- Wire brushes
- Abrasive pads
- Metal scrapers
- Bleach, strong acids, or oven cleaners
These materials can scratch the blade, remove protective coatings, or damage the carbide tips. For stubborn buildup, let the cleaner loosen the residue first, then gently wipe it away instead of forcing it off.
How Do You Clean a Circular Saw Blade?
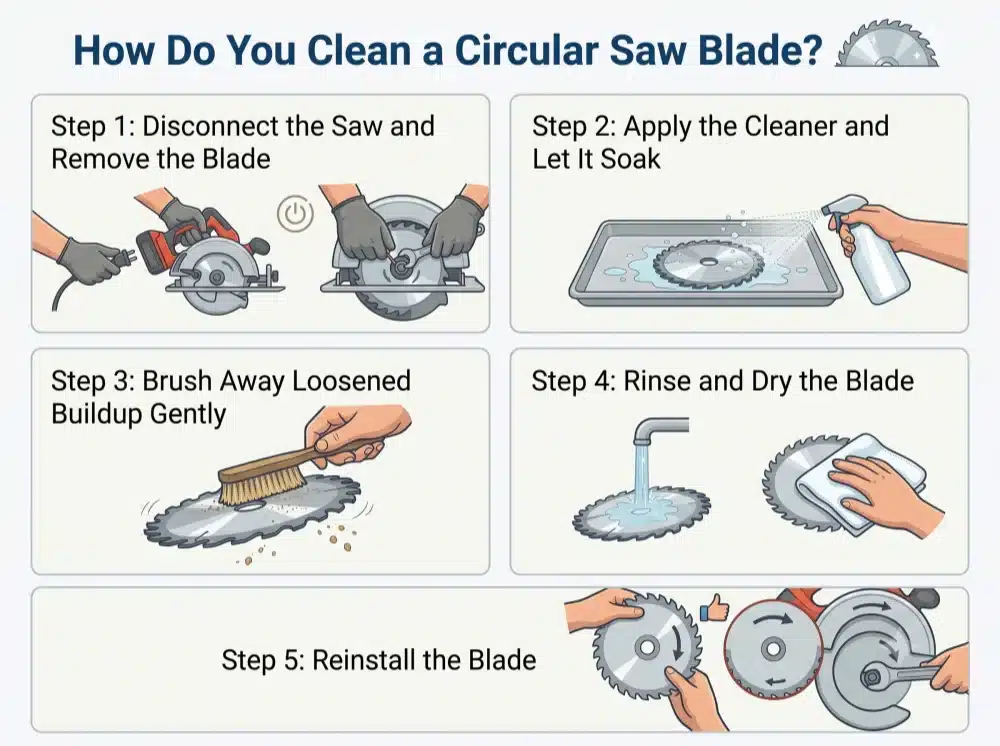
Cleaning a circular saw blade is a simple process when you allow the cleaner to loosen resin, pitch, and sawdust buildup before brushing. The key is to remove the buildup gently instead of forcing it off, which helps protect the blade and carbide teeth. Just follow these five simple steps and your blade will be clean and ready for trouble-free cutting again.
Step 1: Disconnect the Saw and Remove the Blade
The first step to any successful cleaning routine is ensuring the blade can’t turn on you. Unplug your corded circular saw or remove the battery from cordless models before touching the blade. You already know this, but remembering does take effort. Even if you’re in a hurry, make sure your saw is off before proceeding.
Regardless of how caked in resin and sawdust the blade is, those teeth can still cause serious cuts if you’re not careful. Wear a pair of protective gloves to keep your hands safe, remove the blade (consult your owner’s manual if you’re not sure how to do this safely), then place it on a stable surface that it won’t slide around while you’re cleaning.
Step 2: Apply the Cleaner and Let It Soak
Ah yes, this is the step most people seem to rush through, which explains why they find cleaning blades to be so much effort.
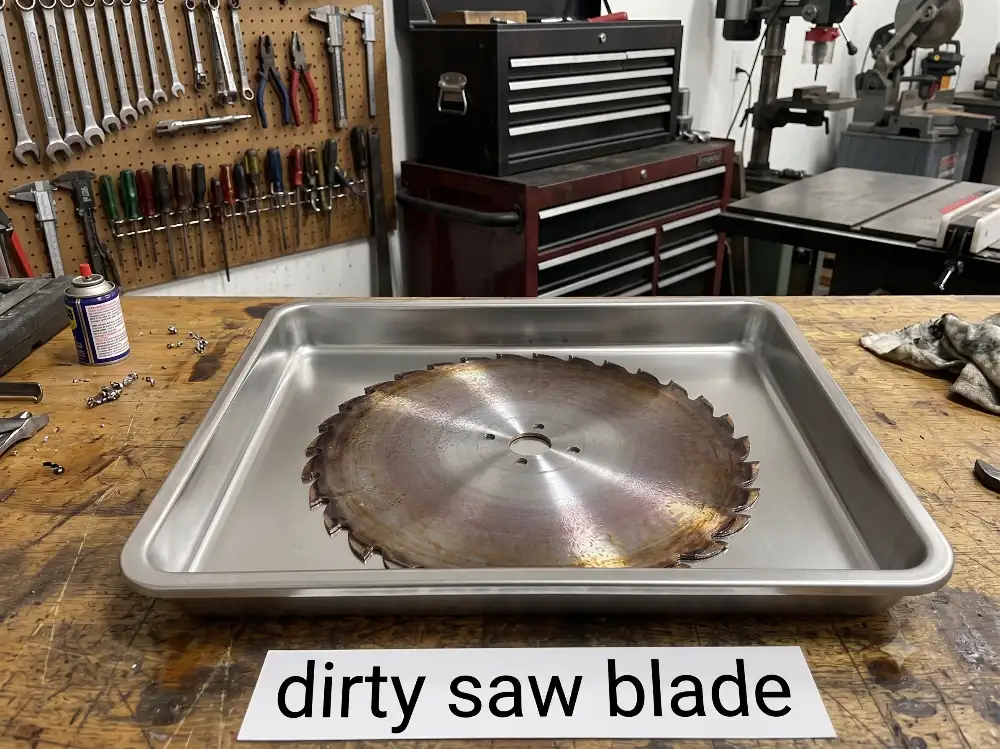
Place the blade flat in a shallow tray or container and spray it down with your blade-safe cleaner. For less severe buildup, you can also try soaking the blade in warm water with a small amount of mild dish soap added. Don’t start wiping or brushing yet. Cleaning products don’t instantly remove sawdust, resin, pitch glue, and tree sap just because they’re wet.
Allow a few minutes for the cleaner to soak in and do its job. It’s similar to washing dishes when food has burned onto the pan. Try to scrape it off straight away, and you’ll spend twice as long cleaning. Let the pan soak first, and most of the residue will wipe away without you having to lift a finger.
Step 3: Brush Away Loosened Buildup Gently
As soon as you notice the residue giving way, pick up a nylon brush (or another brush with soft bristles) and gently scrub around the blade. You may want to spend extra time on the carbide teeth, inside the gullets, and on the flat surface of the blade itself, as these are the areas where sticky buildup tends to accumulate most after repeated use.
There’s no need to scrub hard or use excessive force. A gentle brushing motion back and forth is plenty when you let the appropriate cleaner do its job first. If you encounter a particularly stubborn patch of residue that refuses to budge, don’t grab a scraper or wire brush to remove it. Add more cleaner, wait a couple more minutes, then try brushing away the excess again. It may feel slower, but it’s also much easier on your blade.
Step 4: Rinse and Dry the Blade
Once all the residue has been brushed away, rinse the blade with warm water. Make sure no cleaner remains on the blade, then hold it up to a good light source to double-check that you haven’t missed any spots. Give the teeth and blade plate a good look. It’s easy to miss tiny patches of resin buildup, especially near or inside the gullets.
When you’re satisfied with the results, dry the blade thoroughly with a fresh microfiber cloth. Leave the blade for another minute or two, then let it air dry some more. Any water left sitting on or around the blade isn’t likely to damage it overnight, but storing the blade nice and dry is simply good practice. It also makes it less likely that surface corrosion will be an issue down the road.
Step 5: Reinstall the Blade
Before reinstalling the blade on the saw, double-check its direction of rotation. There should be an arrow indicating the direction of rotation on the blade, and it should match an arrow on the saw. Most modern circular saws will also have an illustration indicating the proper rotation direction.
Tighten the arbor nut according to your owner’s manual instructions. Blade arbor nuts can vary a lot from tool to tool, so don’t force the nut if it doesn’t feel right. Once you think it’s tight enough, give the blade a quick spin with your fingers to ensure it’s not binding. If it spins freely, plug the saw back in. You’re done!
Why Does Cleaning a Circular Saw Blade Matter?
Cleaning a circular saw blade matters because removing resin, pitch, glue, and sawdust buildup helps reduce friction, improve cutting performance, and prevent unnecessary stress on the saw. Cleaning your circular saw blade is more than cosmetic.
Each time your blade cuts into softwood, plywood, MDF, or another sheet material, those saw kerfs collect small amounts of resin, pitch, tree sap/glue, and fine sawdust on the teeth and plate of the blade. That residue slowly accumulates like grease on a kitchen grease filter over time and begins to hinder the blade’s ability to move through wood.
As that accumulated pitch/glue builds up, it causes increased friction rather than clean cutting. This added friction creates more heat, slower feed rates, rough cuts, and burn marks on your material. It also makes your saw motor work harder than it needs to.
What Mistakes Should You Avoid When Cleaning a Circular Saw Blade?
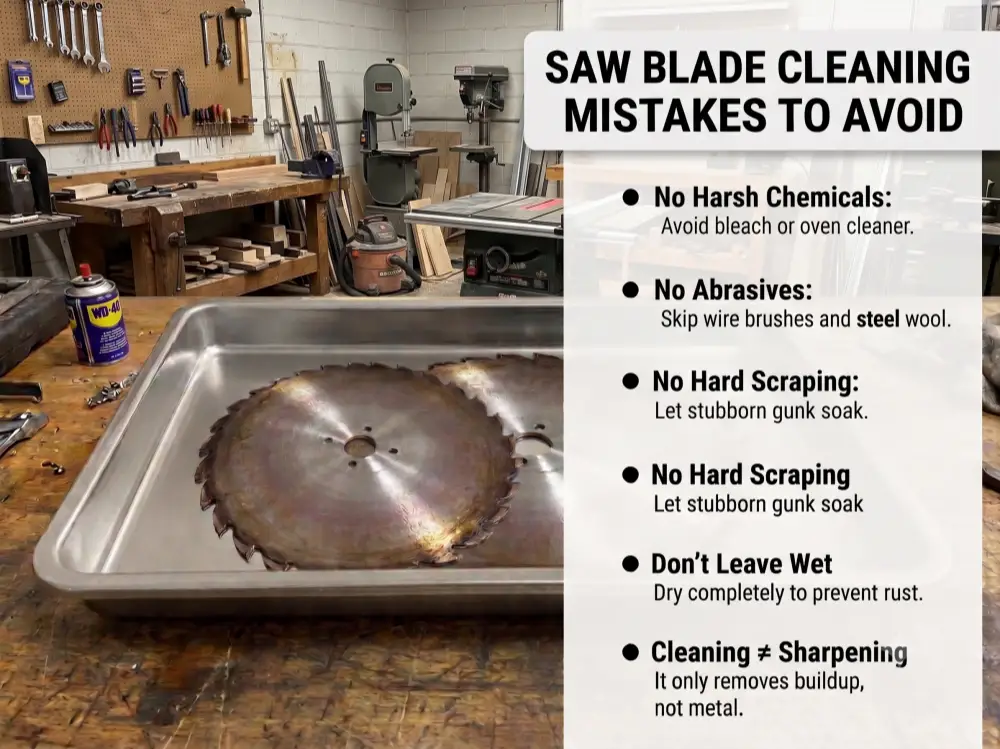
The most common circular saw blade cleaning mistakes are using harsh chemicals, abrasive tools, or too much force to remove stubborn buildup. The goal is to loosen resin, pitch, and debris safely, not to scrape the blade aggressively.
Harsh chemicals like bleach, oven cleaner, and strong acids can damage the blade’s coating and may eventually affect the carbide tips. Blade cleaner works more slowly, but it is designed for this purpose.
Likewise, avoid aggressive scrubbing. If some residue is proving difficult to remove, don’t dig at it with a wire brush, steel wool, or metal scraper. Allow more soaking time and let the cleaner loosen the debris. Dry the blade thoroughly before reinstalling it to help prevent surface rust.
Remember that cleaning is not sharpening. Cleaning removes resin and debris; sharpening removes metal to create a new cutting edge.
Conclusion
If you find your circular saw losing speed or starting to leave rough, burned cuts, don’t assume the blade is worn out. Spend a few minutes cleaning it first. Removing a layer of sticky resin and sawdust buildup can help restore smoother cutting performance and reduce unnecessary strain on your saw.
Use mild cleansers, avoid harsh scrubbing, and give the cleaner time to work. Regular cleaning is a simple maintenance habit that can help your blade cut cleaner and last longer between sharpening or replacement.
FAQs About Cleaning Circular Saw Blades
For a thorough cleaning, you should remove the circular saw blade first. Removing the blade gives you safer access to both sides, makes it easier to clean around the teeth and gullets, and allows you to remove stubborn buildup more effectively. Light surface dust can be wiped away without removing the blade, but deeper cleaning is easier and safer when the blade is off the saw.
Yes, mild dish soap can work for removing light resin and surface buildup from a circular saw blade. However, hardened pitch, glue, sap, or heavy residue usually requires a citrus-based cleaner or a product specifically designed for cleaning saw blades.
Yes. Resin, pitch, and sawdust buildup can make a circular saw blade cut more slowly and generate more heat, even when the cutting edge is still sharp. Cleaning the blade is often the first step to check before deciding whether the blade actually needs sharpening.
Some household cleaners can damage the blade’s coating or affect the carbide tips, especially with repeated use. Avoid harsh cleaners such as bleach, oven cleaner, and strong acids. When possible, use mild cleaners or products designed to be safe for saw blades.